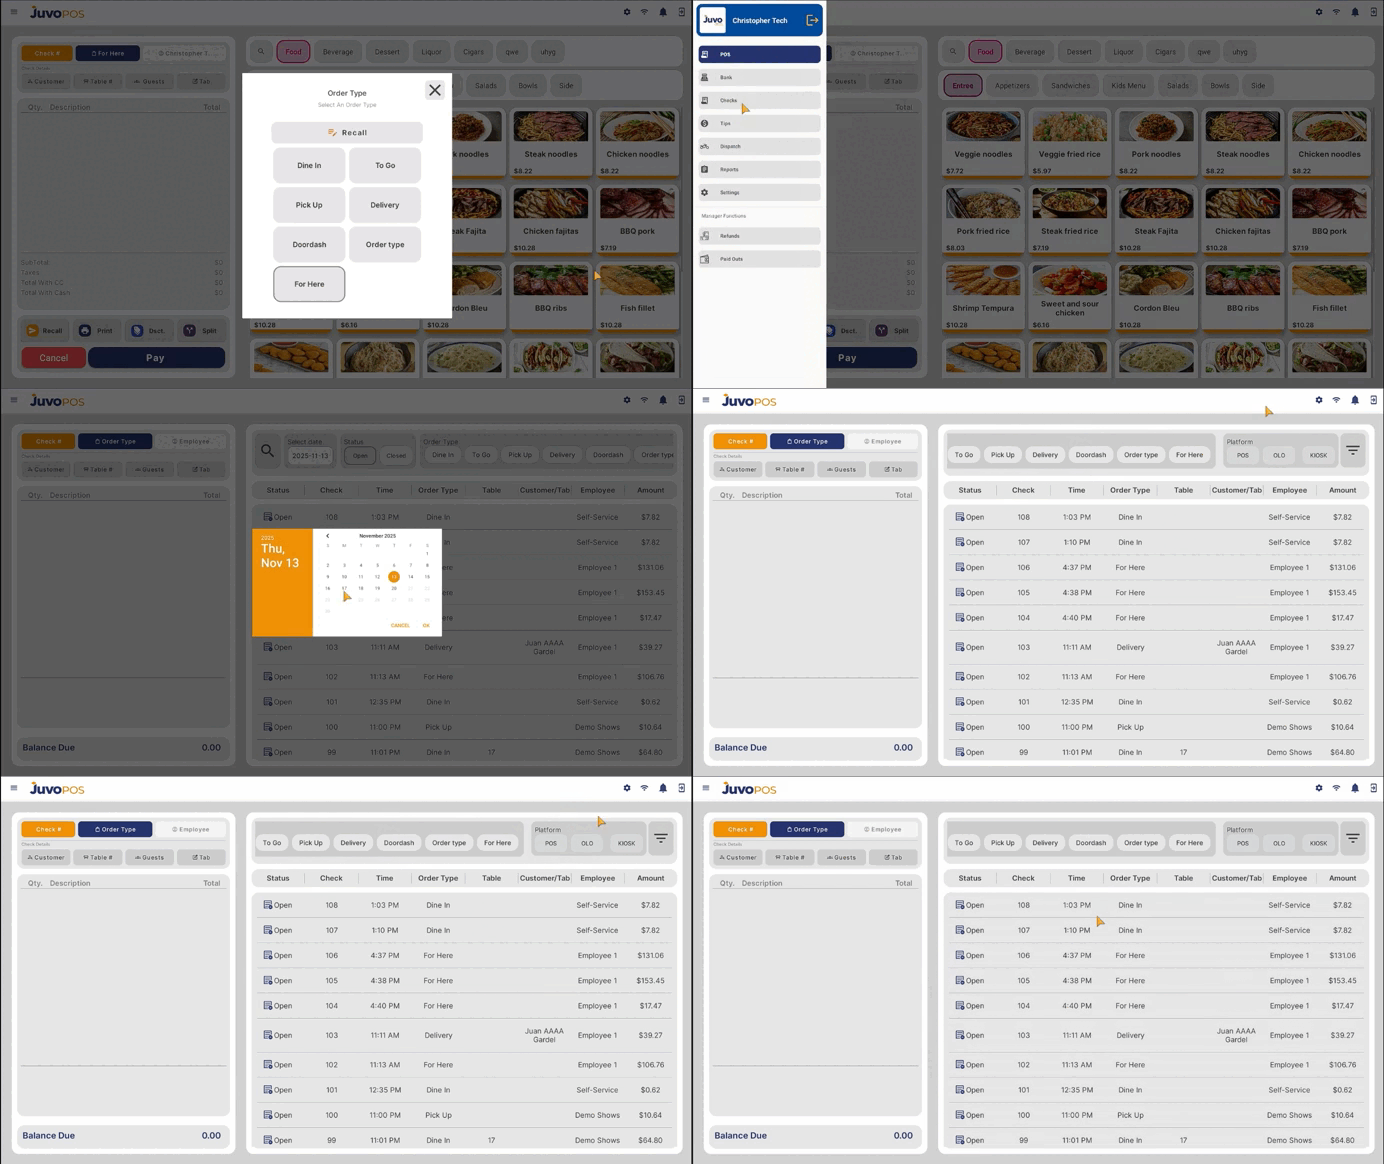
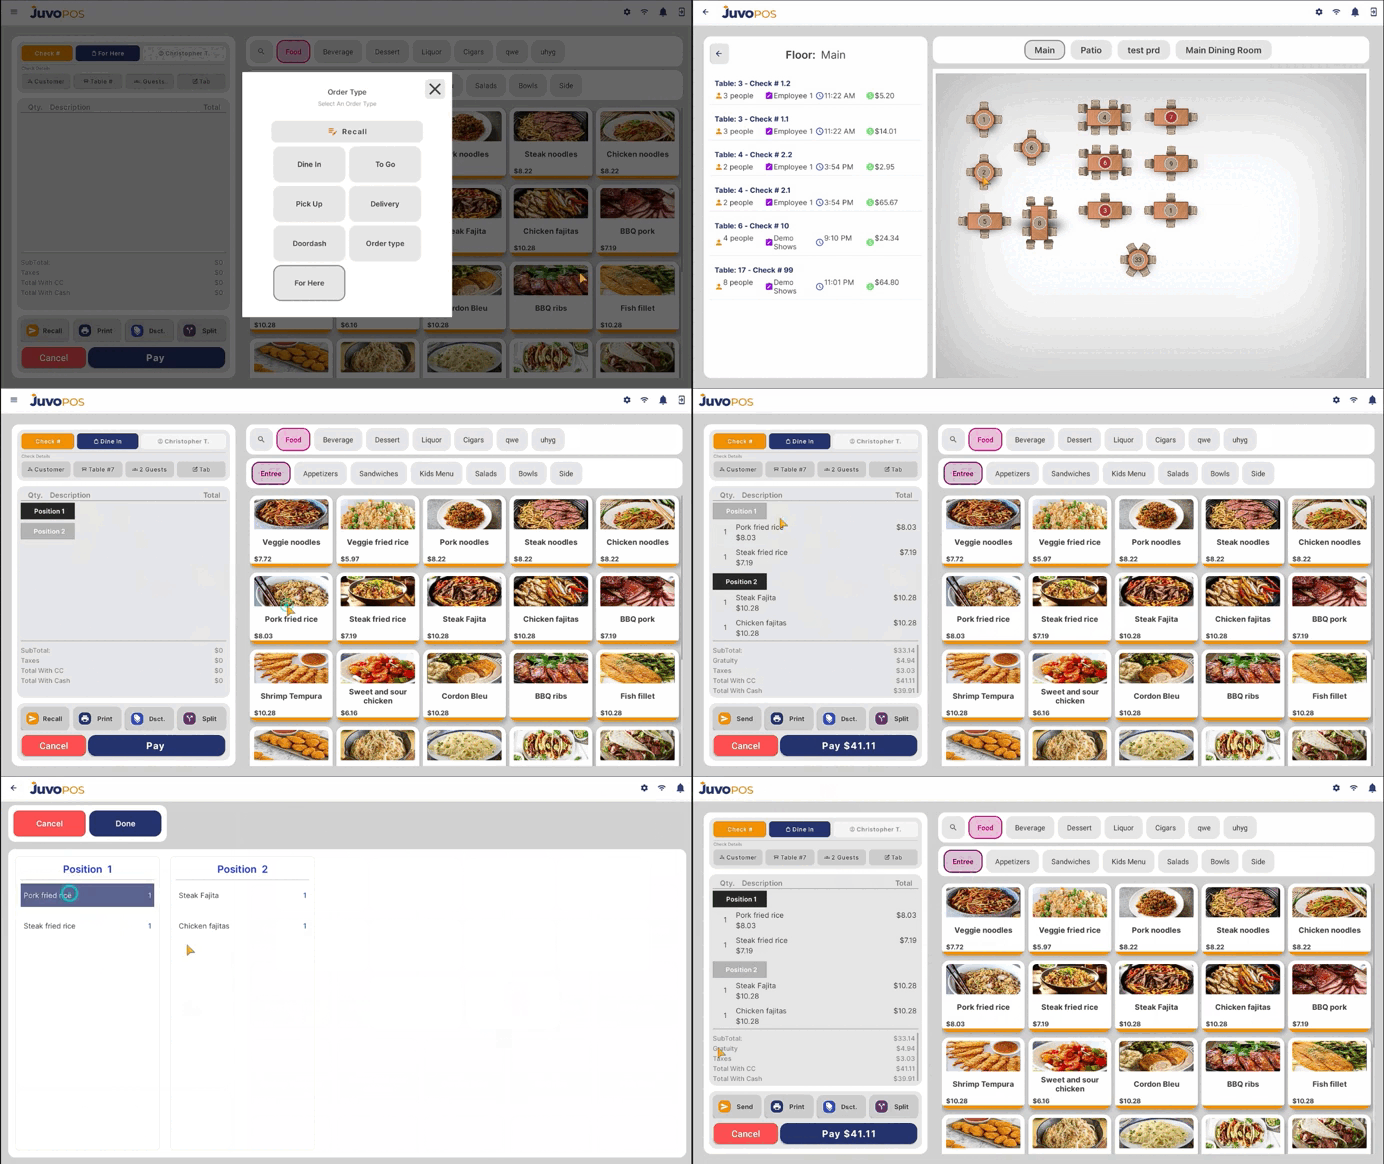
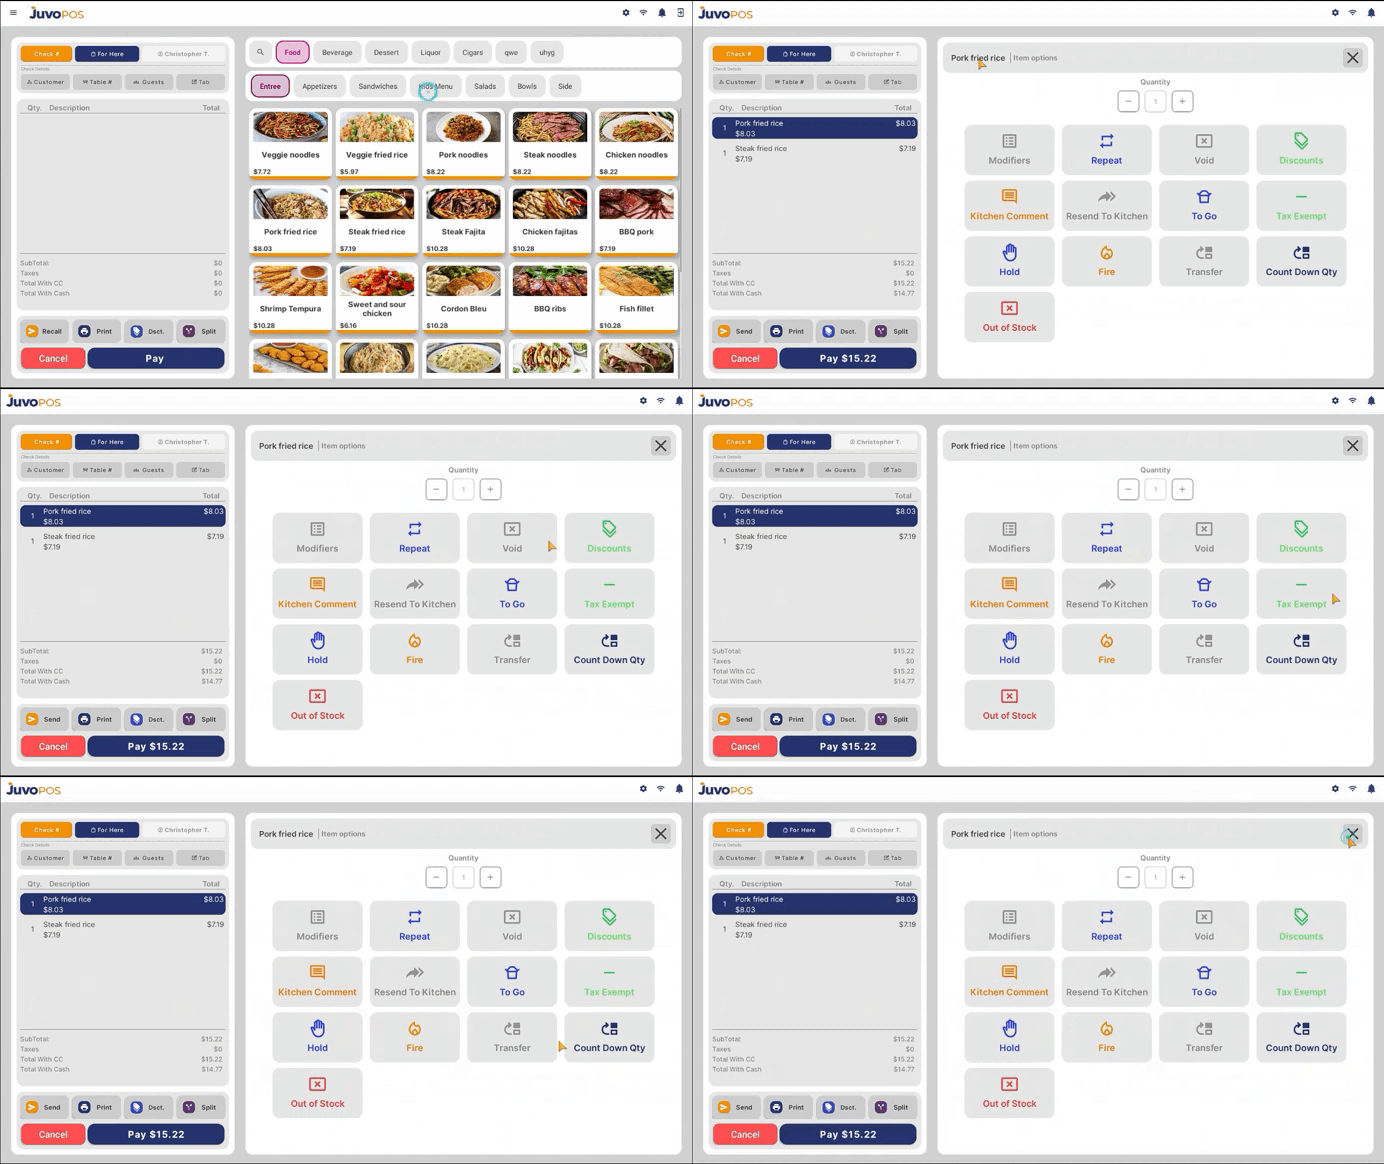
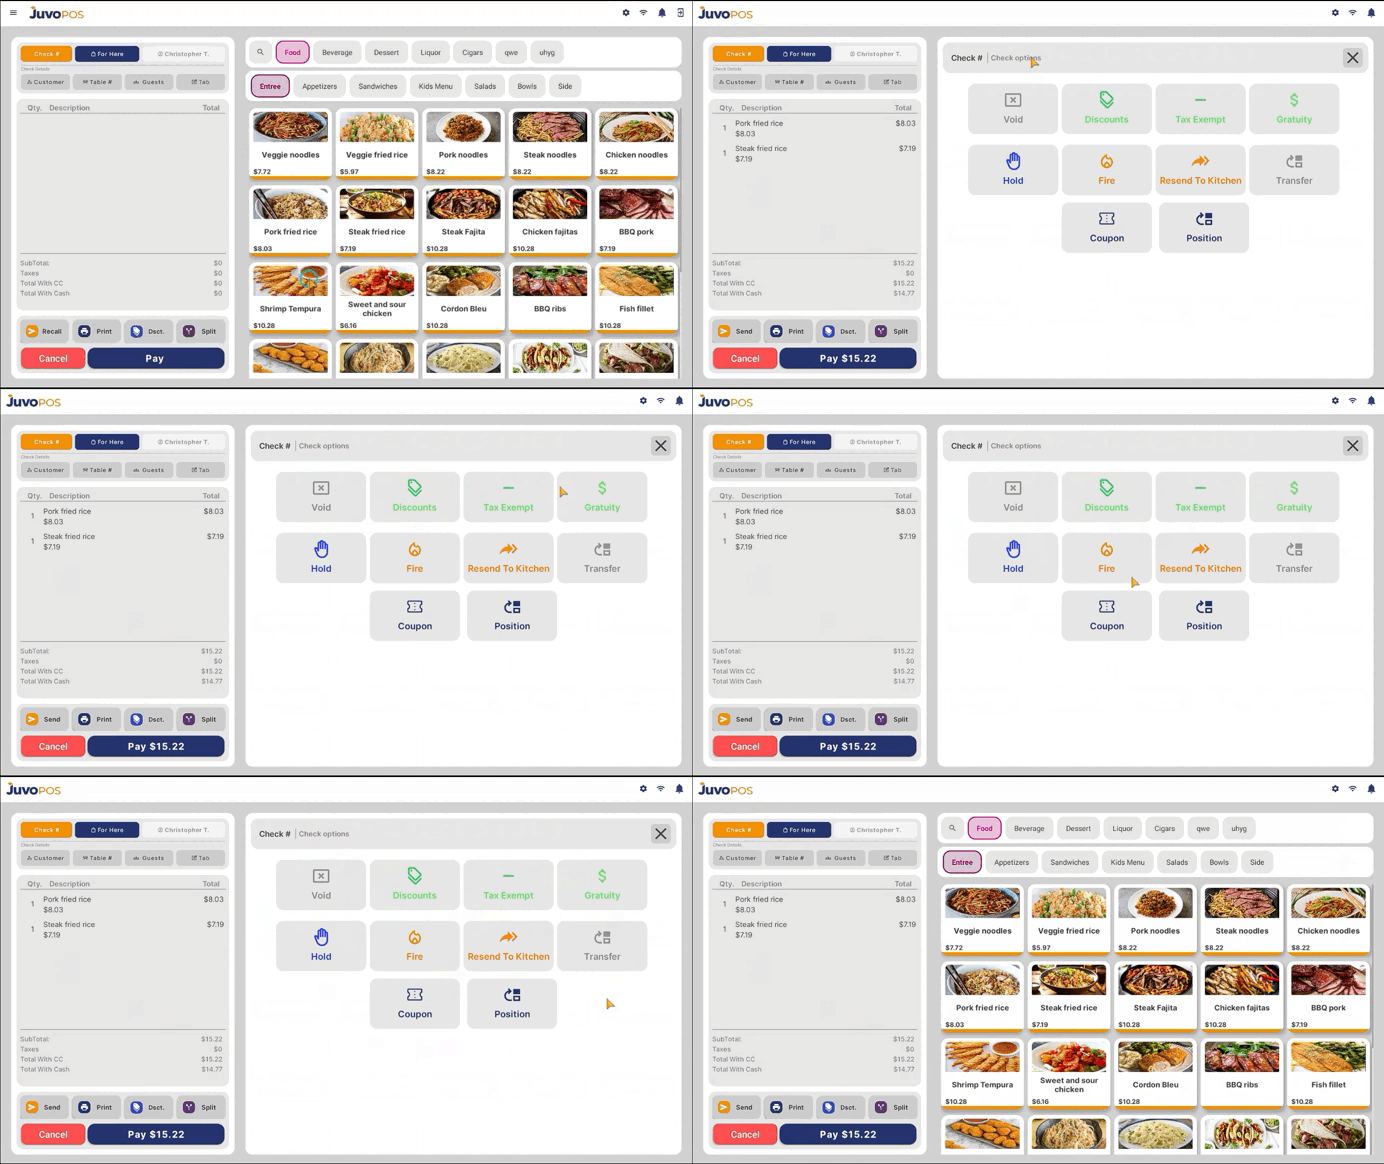
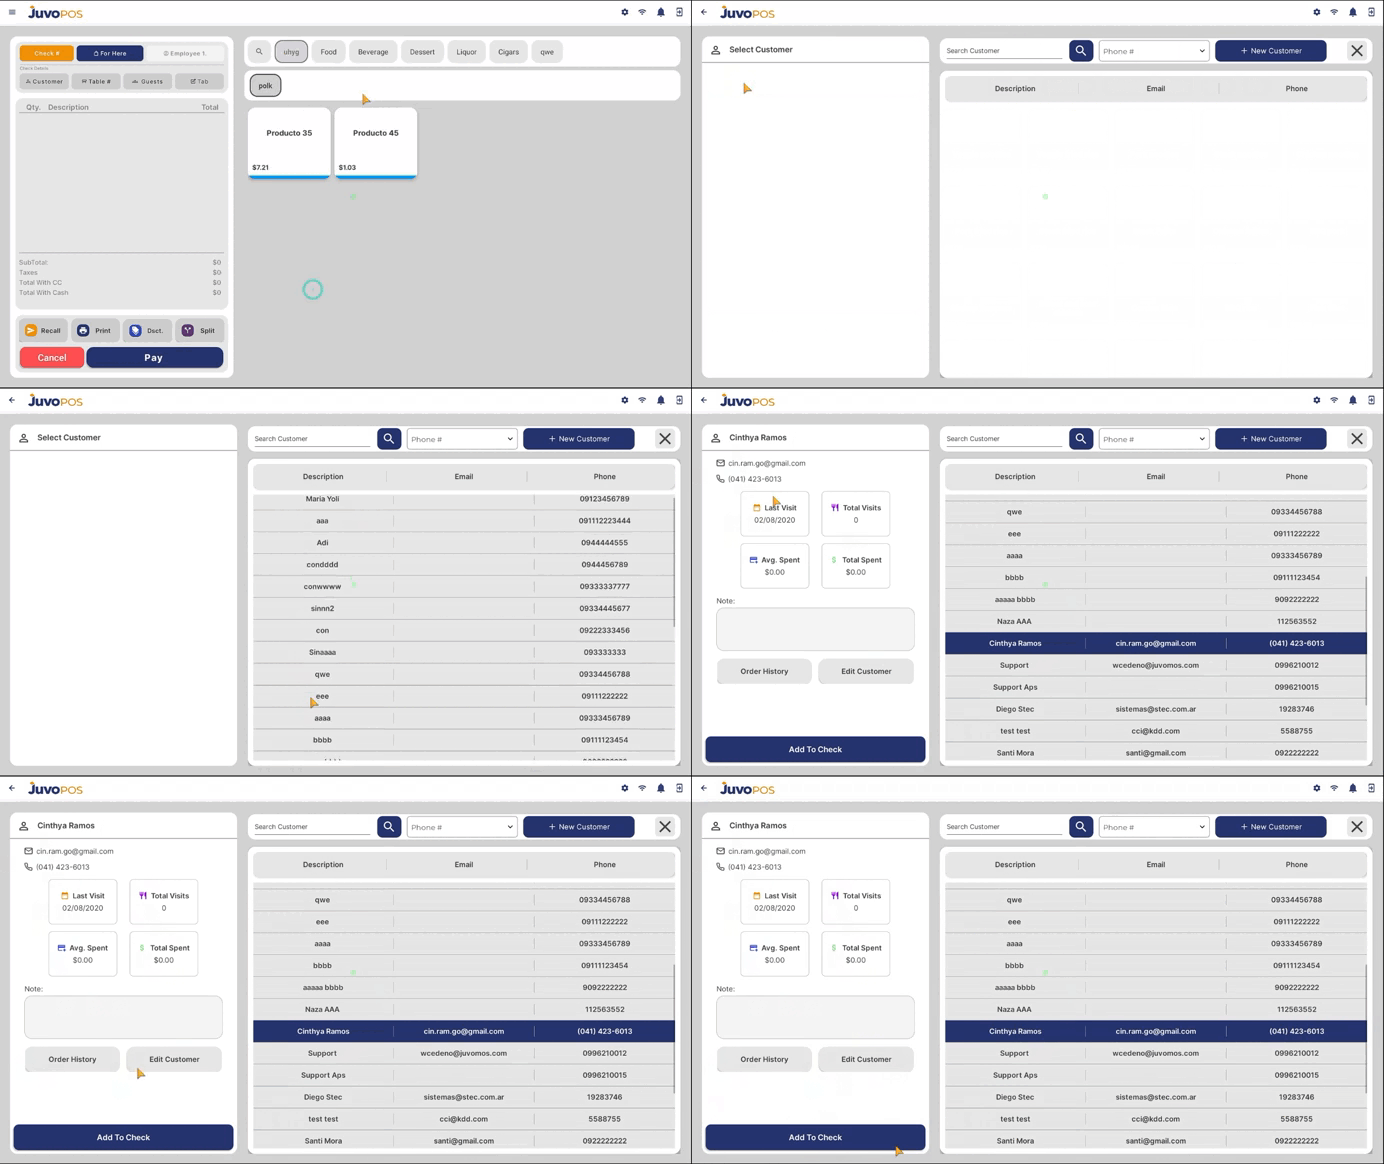
In this guide, we will learn how to access customer history in Juvo POS and review important information about returning customers.
When creating a new check, navigate to the Customer section.
Tap the Search icon to view the list of customers previously added to the system.
Search for and select the customer you want to review.
Once the customer is selected, you can access their available history and information, including:
Last Visit: When the customer last visited your business.
Total Visits: The total number of recorded visits.
Average Spent: The customer’s average spending amount.
Additional Information: Other available customer details and visit history.
Juvo POS allows you to save customer information for future visits, making it easier to recognize returning customers, track their visit history, and better understand their spending habits.
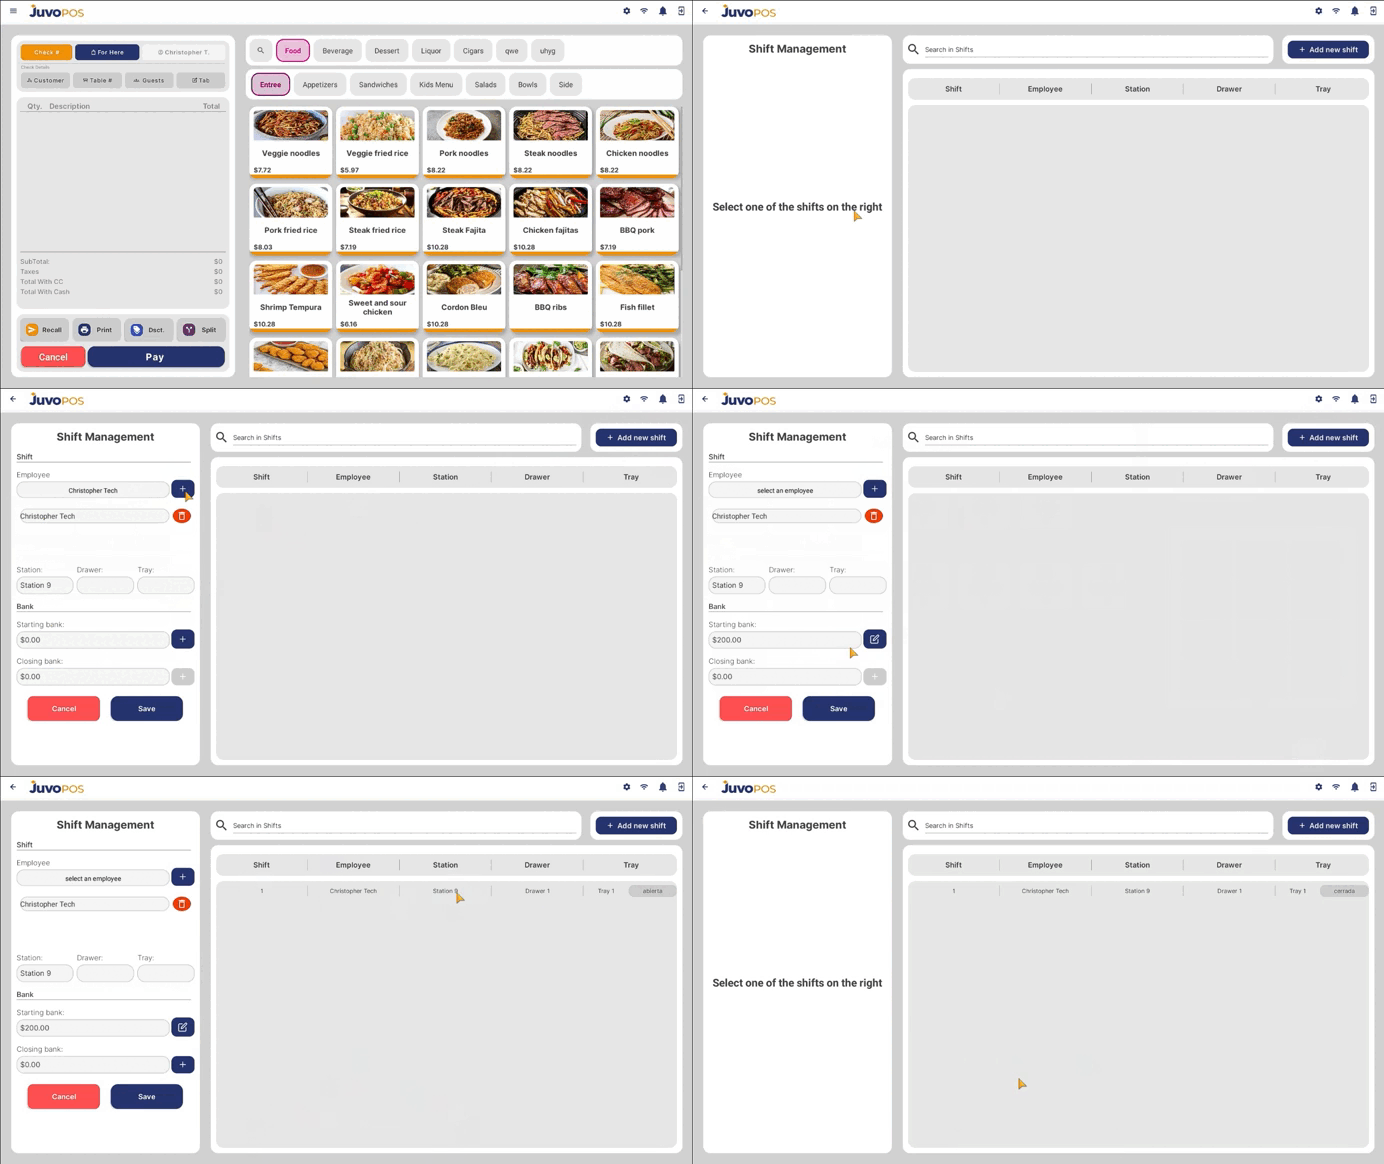
In this guide, we will learn how to create and manage an employee shift in Juvo POS, including recording the starting and closing bank amounts.
From the main POS screen, open the Functions menu.
Select Bank, then choose Shift.
Tap Add Shift to begin creating a new shift.
Select the employee assigned to the shift.
Enter the Starting Bank amount, which represents the initial cash amount in the register at the beginning of the shift.
Tap Update to save the shift information.
When the employee finishes the shift, return to the shift information and update the Closing Bank amount to record the final cash balance.
Properly recording the starting and closing bank amounts helps track register cash, manage employee shifts, and maintain accurate cash records throughout daily operations.
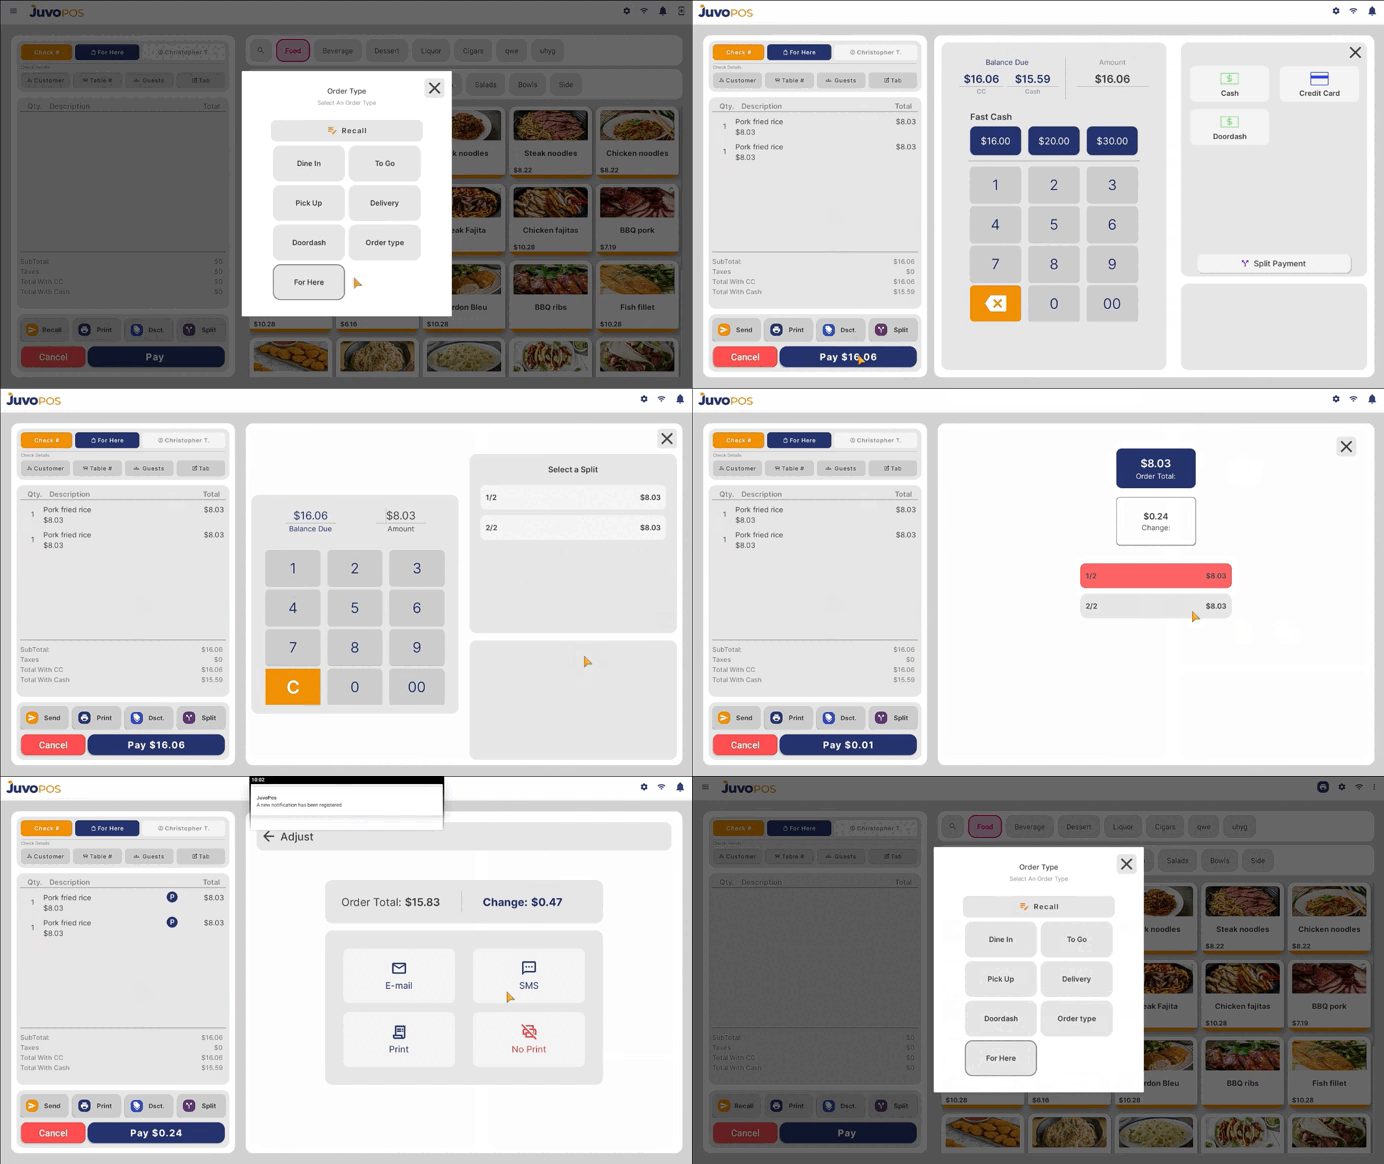
In this guide, we will learn how to split a payment in Juvo POS, allowing customers to pay for a check using multiple payments.
Open the check you want to pay and proceed to Checkout.
Select Split Payment to begin dividing the check total.
Choose how you want to split the payment: Split Evenly to divide the total into equal portions, or Custom Amounts to enter specific amounts for each payment.
Select the payment method for each portion. Depending on your needs, you can use Cash, Card, or a combination of payment methods.
Process each payment portion individually until the full check balance has been paid.
Confirm that the remaining balance is zero to ensure the check has been fully paid.
The Split Payment feature provides flexibility at checkout, making it easier for multiple customers to share a check or pay using different payment methods.
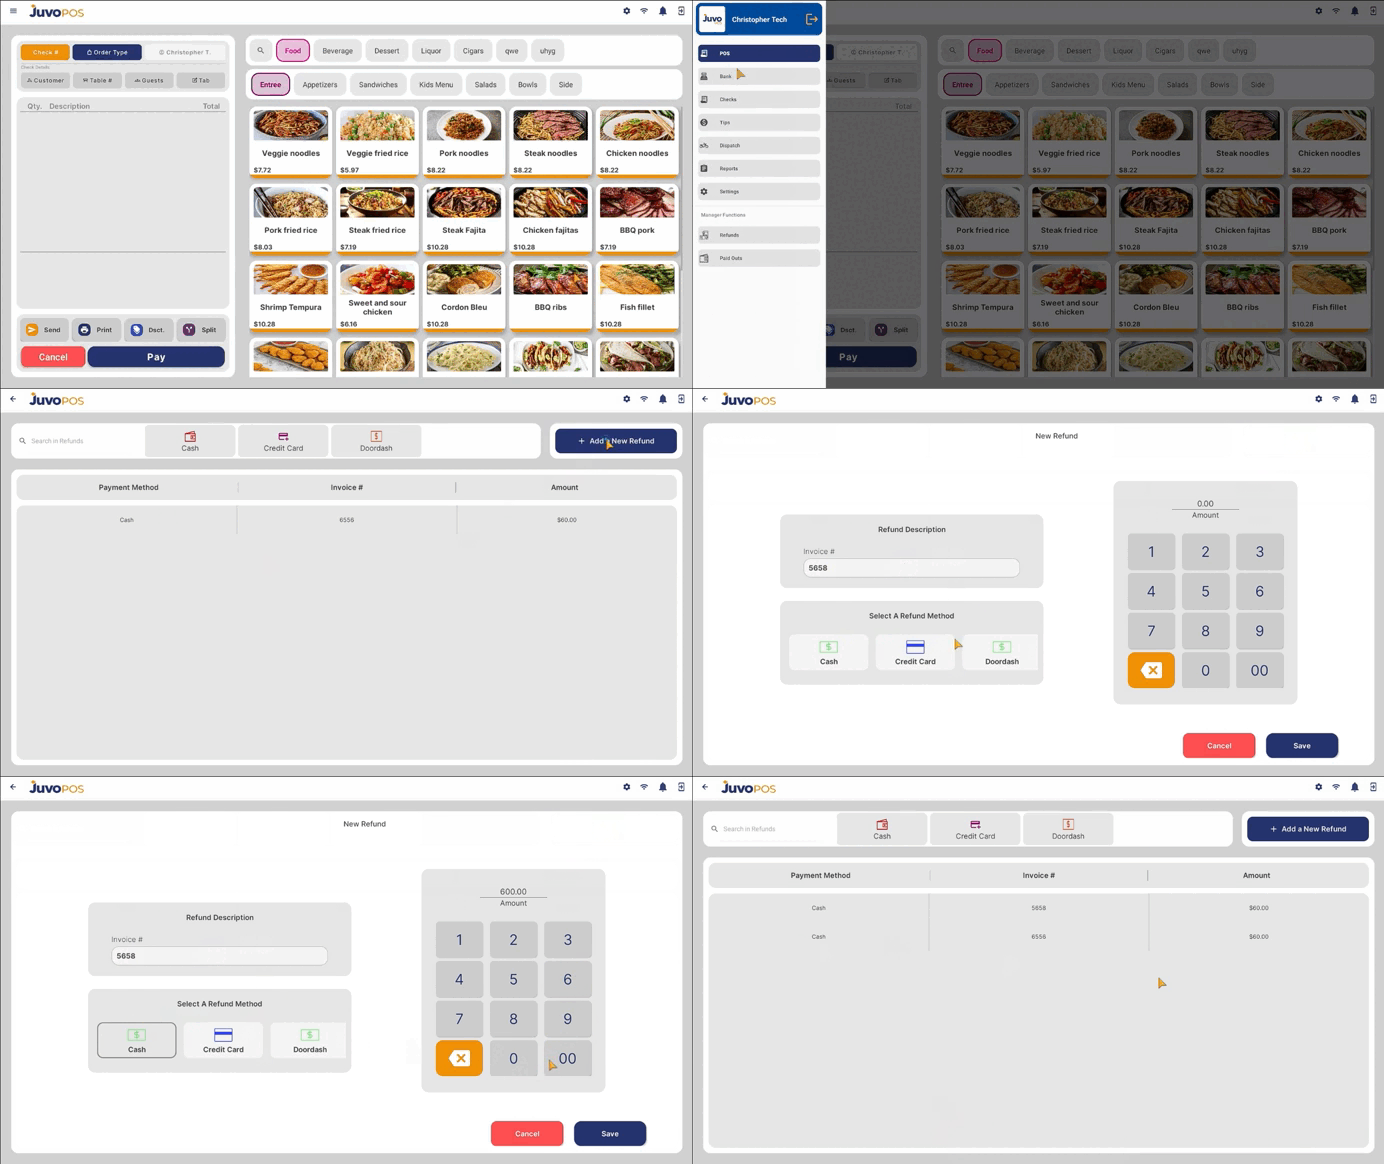
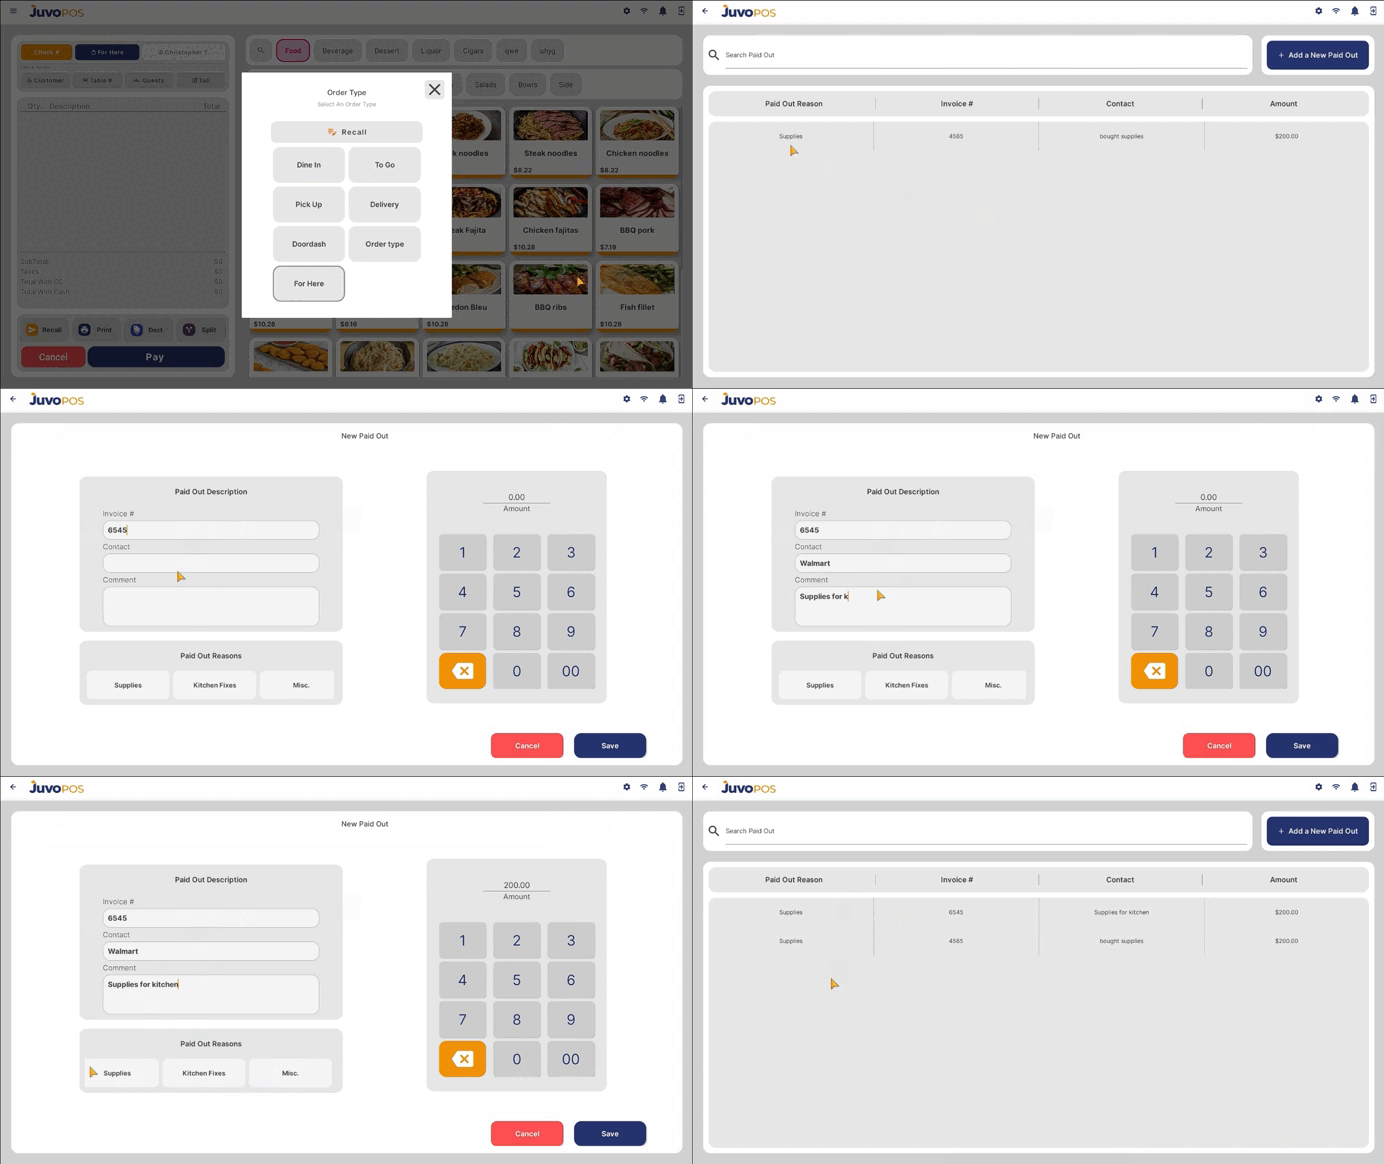
In this guide, we will learn how to record a Paid Out transaction in Juvo POS to document money taken out of the register for business-related expenses or other purposes.
From the main POS screen, open the Functions menu.
Select Bank, then choose Paid Outs.
Enter the required transaction details:
Amount: Enter the amount being paid out.
Reason: Select or enter the reason for the transaction.
Invoice: Enter the invoice number, if applicable.
Comment: Add any additional notes or details about the transaction.
Contact: Select the contact associated with the transaction.
Review the information entered to ensure all details are correct.
Confirm the transaction to record the Paid Out in the system.
Recording Paid Outs in Juvo POS helps track cash removed from the register and maintain accurate records of business expenses and cash movements.
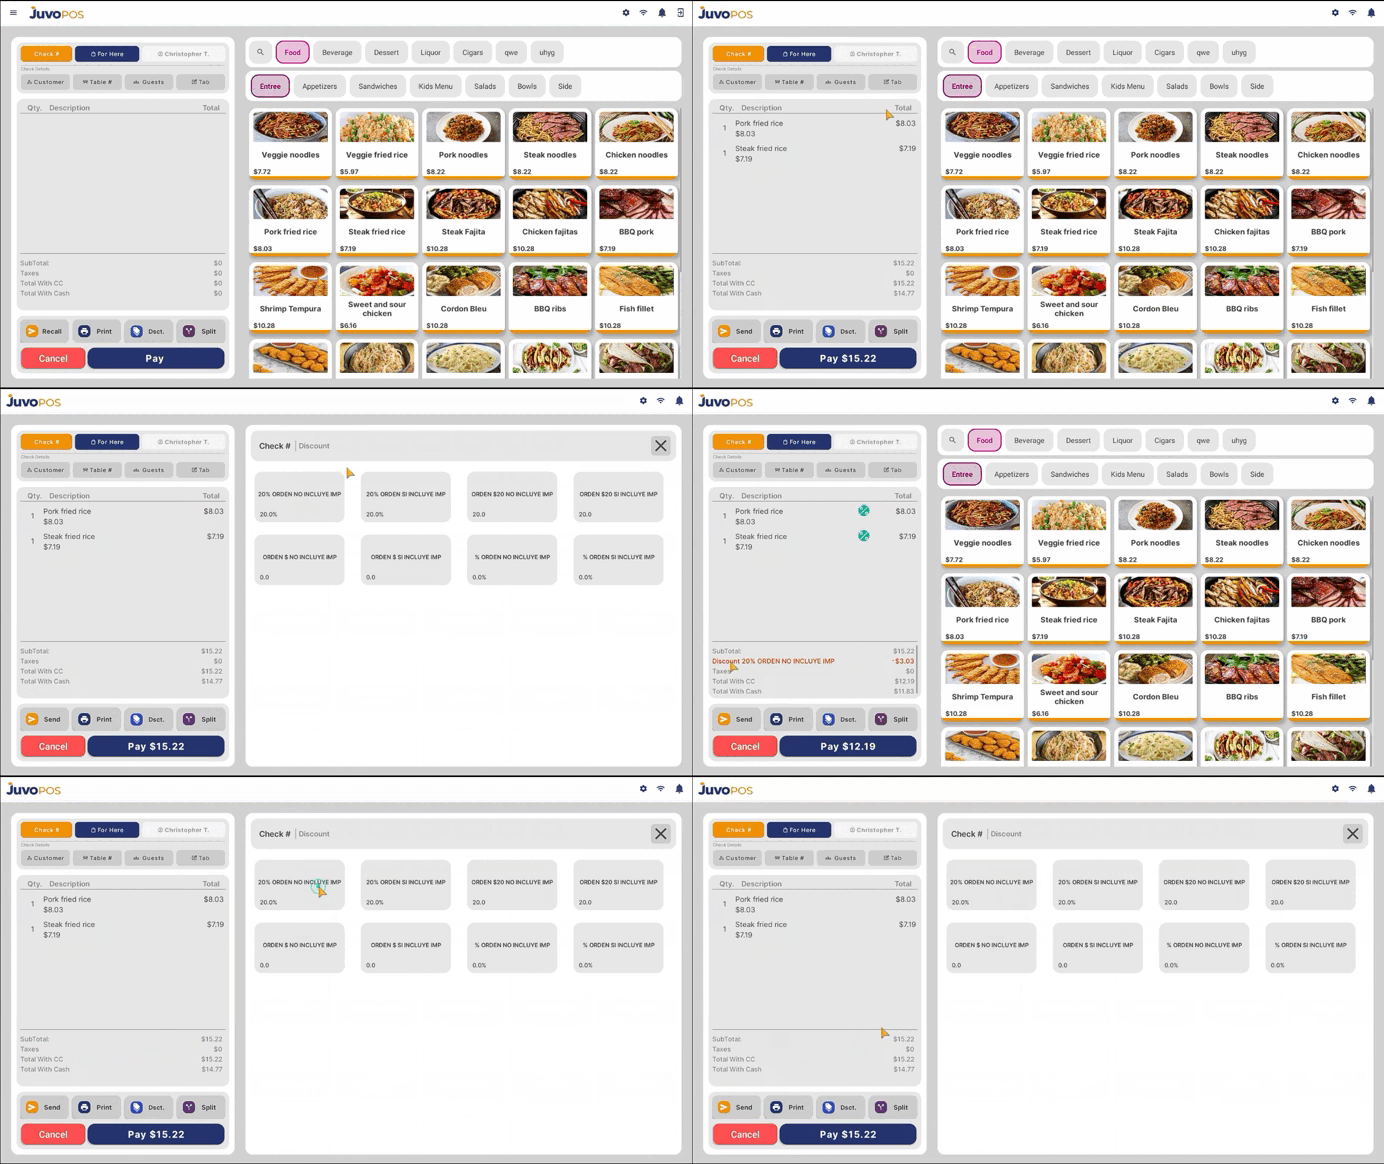
In this guide, we will learn how to apply and remove discounts in Juvo POS, whether for an individual item or an entire check.
Open the check where you want to apply a discount.
Select the item you want to discount, or choose the option to apply a discount to the entire check.
Tap Discount to view the available discount options.
Choose the type of discount you want to apply, such as:
Percentage Discount: Apply a percentage off the selected item or check.
Fixed Amount Discount: Deduct a specific monetary amount.
Preset Discount: Select a predefined discount available in the system.
Confirm your selection. The applied discount will appear under the selected item or at the bottom of the check when applied to the entire check.
To Remove a Discount
If you need to remove an existing discount, repeat the same process. Select the item or check where the discount was applied, open Discount, and unselect the previously applied discount. The discount will be removed from the selected item or check.