Tag: Juvo Back Office

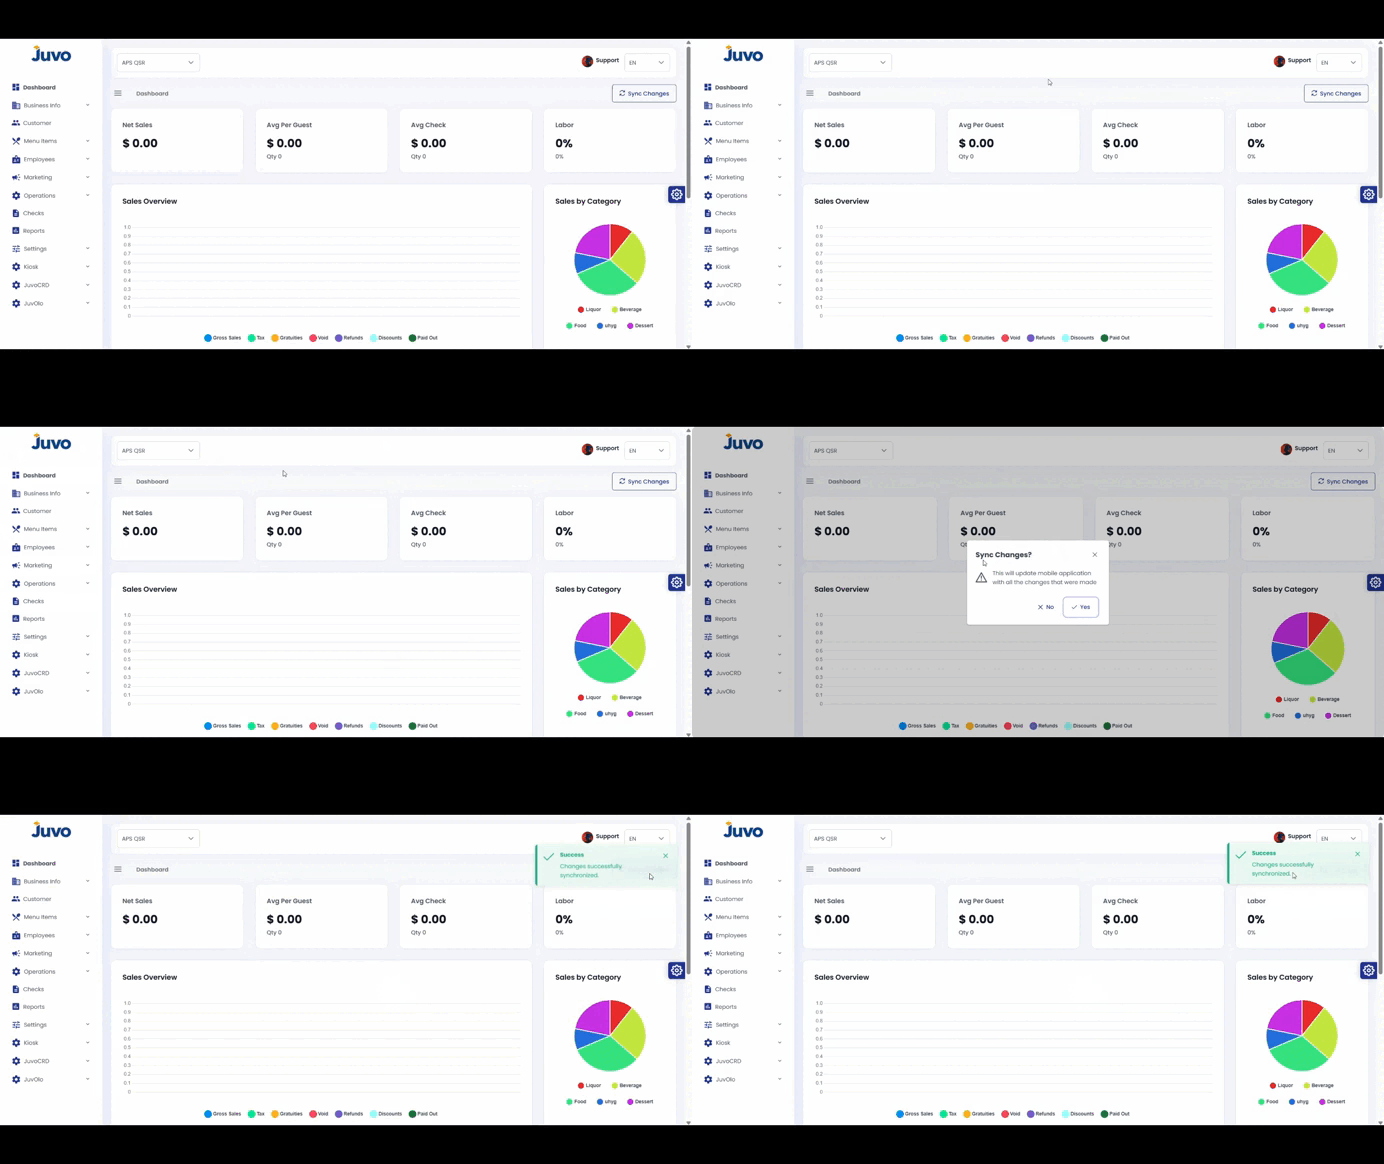
  • Juvo Back Office → Sync Changes

    Learn how to send updated Back Office information to the POS.

    1. Log in to Juvo Back Office.
    2. Go to the top-right corner near the User section.
    3. Click Sync Changes.
    4. Allow synchronization to complete.

    Note: Sync after making Back Office updates so the POS receives the latest information.
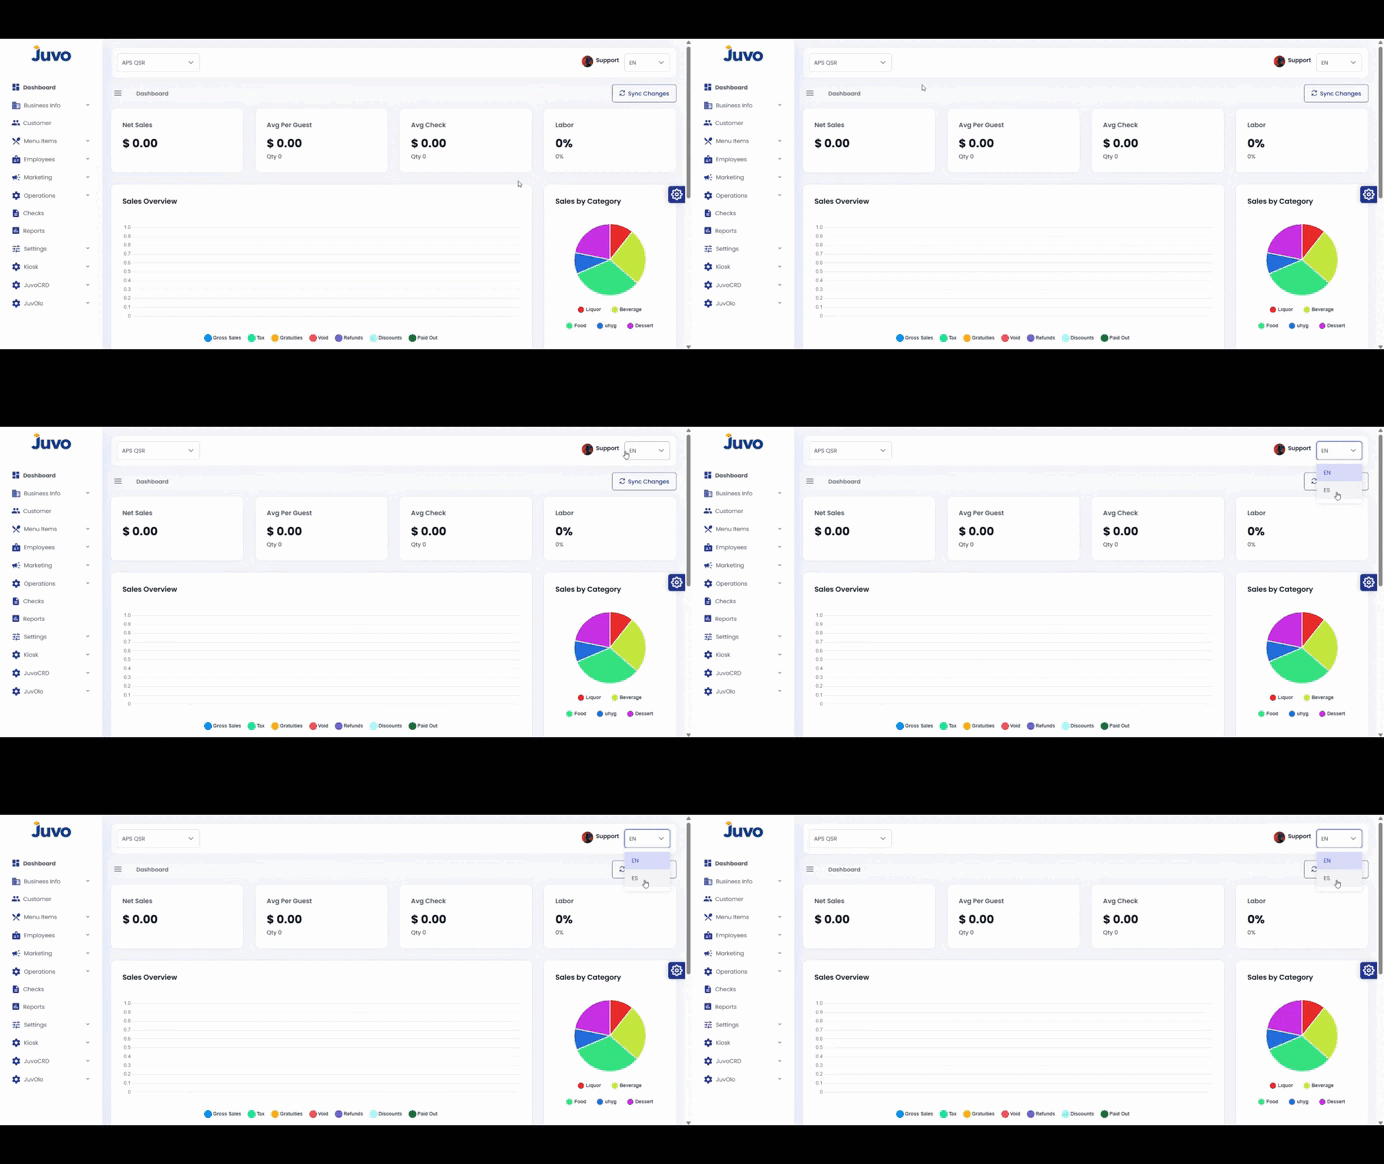
  • Juvo Back Office → Change Language

    Change the display language in Juvo Back Office.

    1. Log in to Juvo Back Office.
    2. Go to the top-right corner next to your profile.
    3. Click the language option.
    4. Select your preferred language.
    5. Verify that the interface changed.
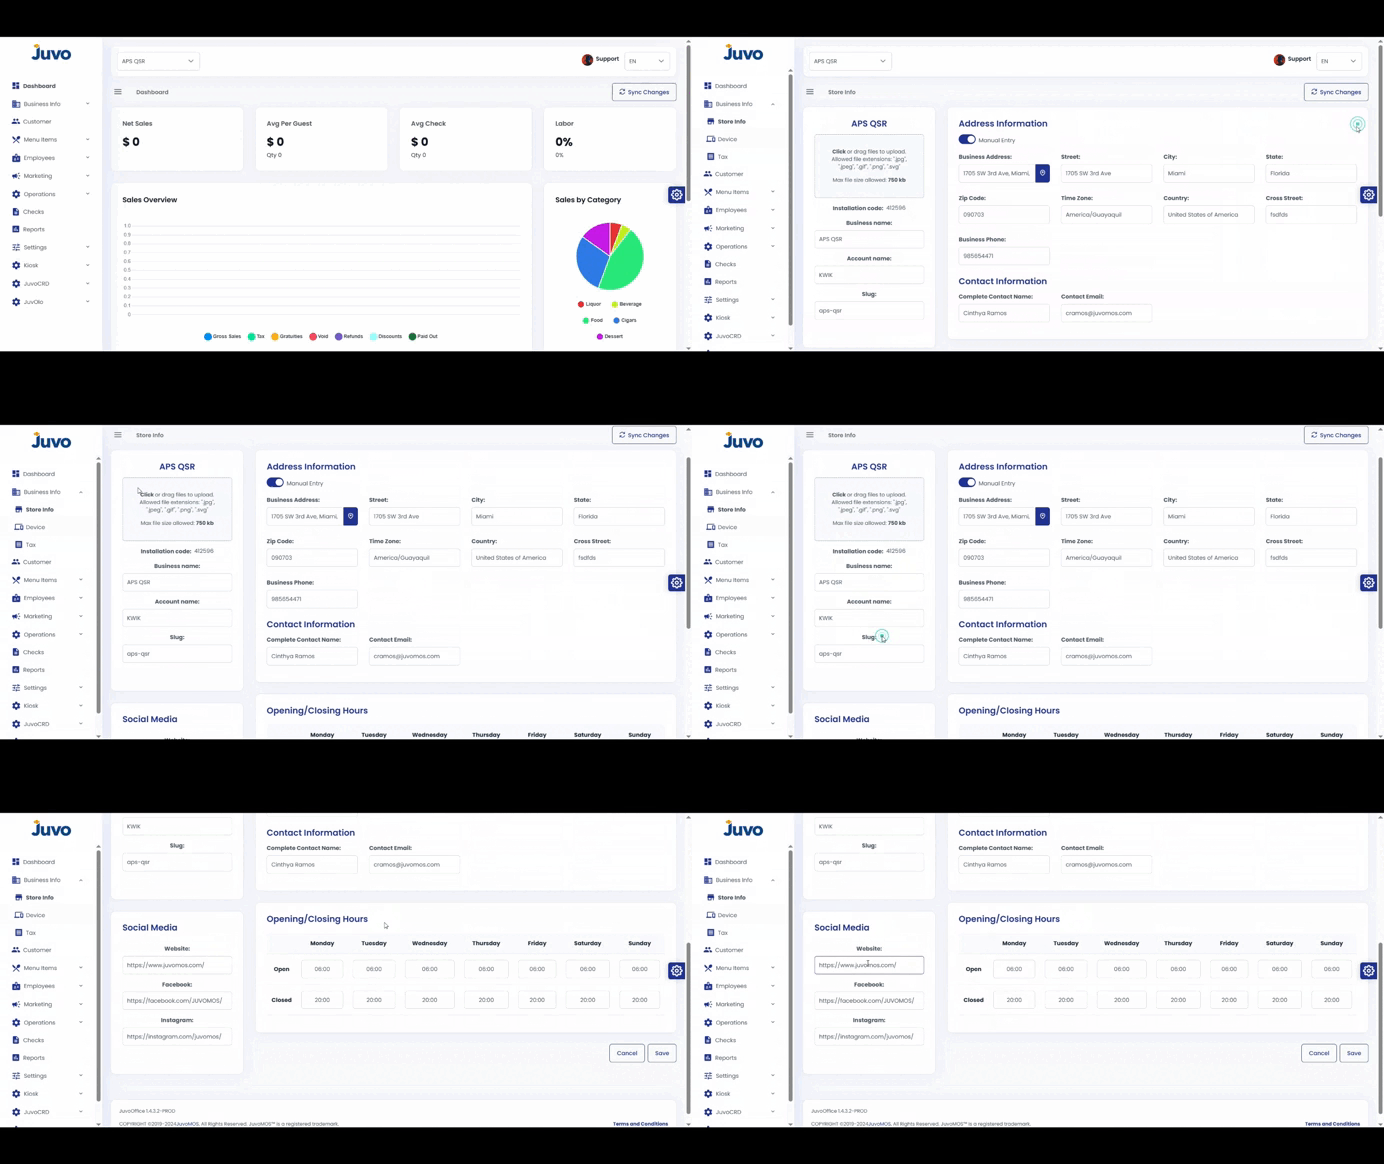
  • Business Info → Store Info

    View and update your store information in Juvo Back Office.

    1. Open Business Info.
    2. Select Store Info.
    3. Click Edit in the top-right corner.
    4. Update the name, address, phone, email, or other details.
    5. Review and click Save.

    Note: Confirm that the information is correct before saving.

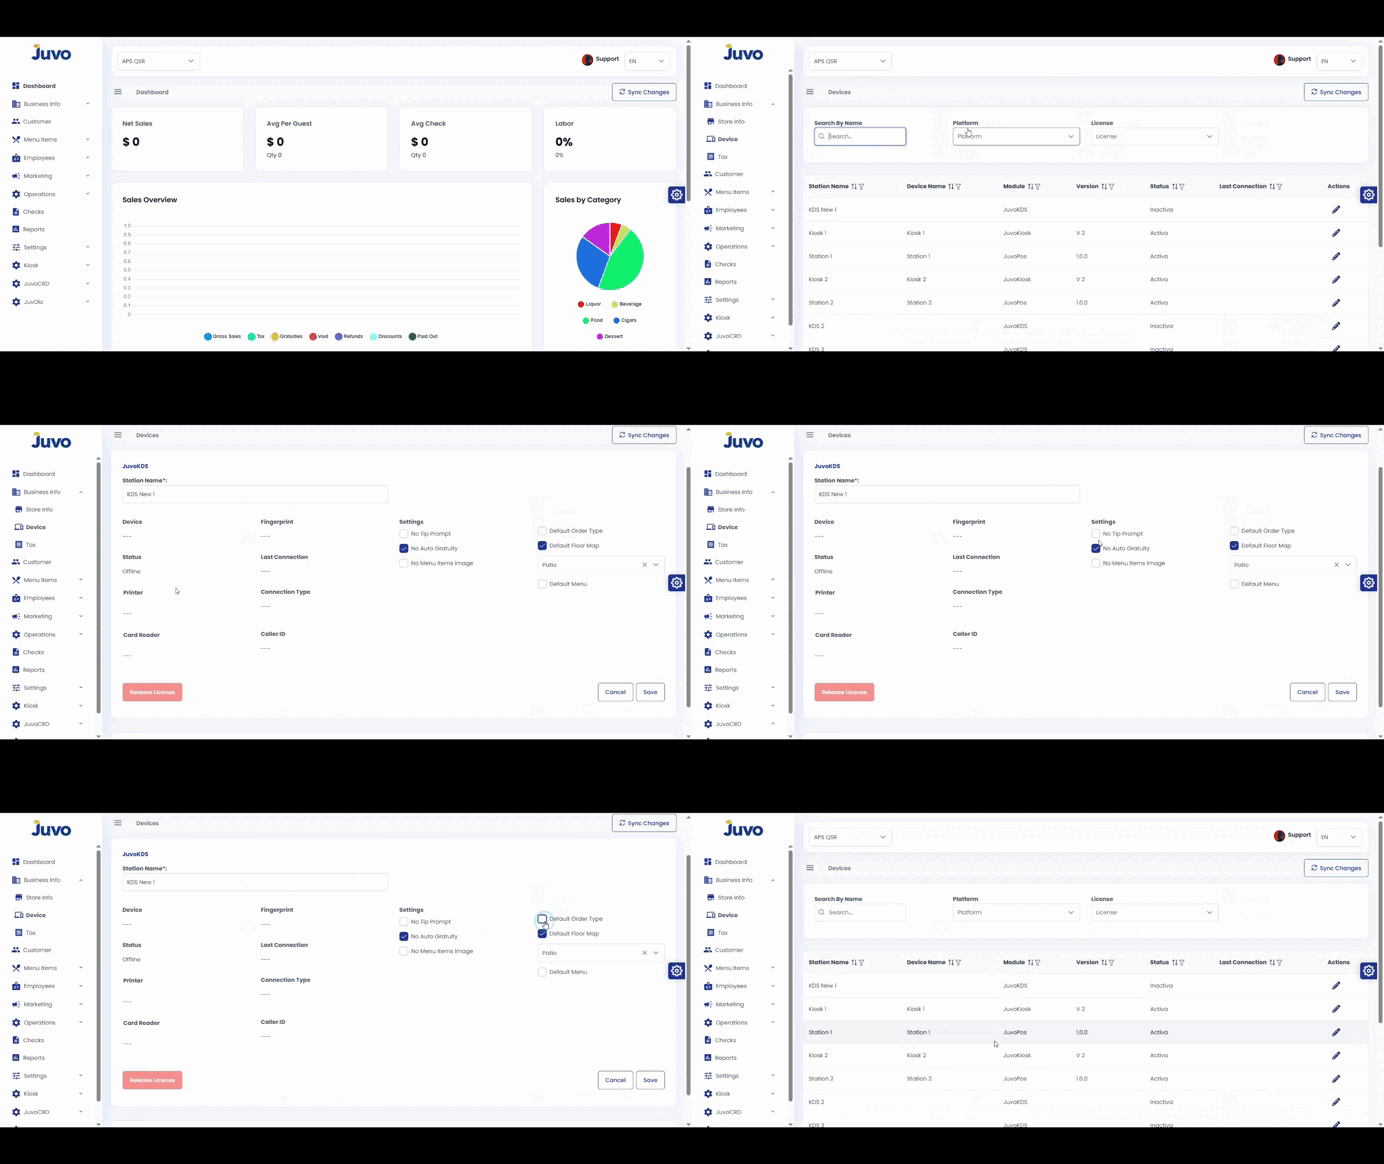
  • Business Info → Devices

    Manage registered devices in Juvo Back Office.

    1. Open Business Info.
    2. Select Devices.
    3. Filter if needed and select a device.
    4. Edit the device name, settings, release license, default status, or other available options.
    5. Click Save.
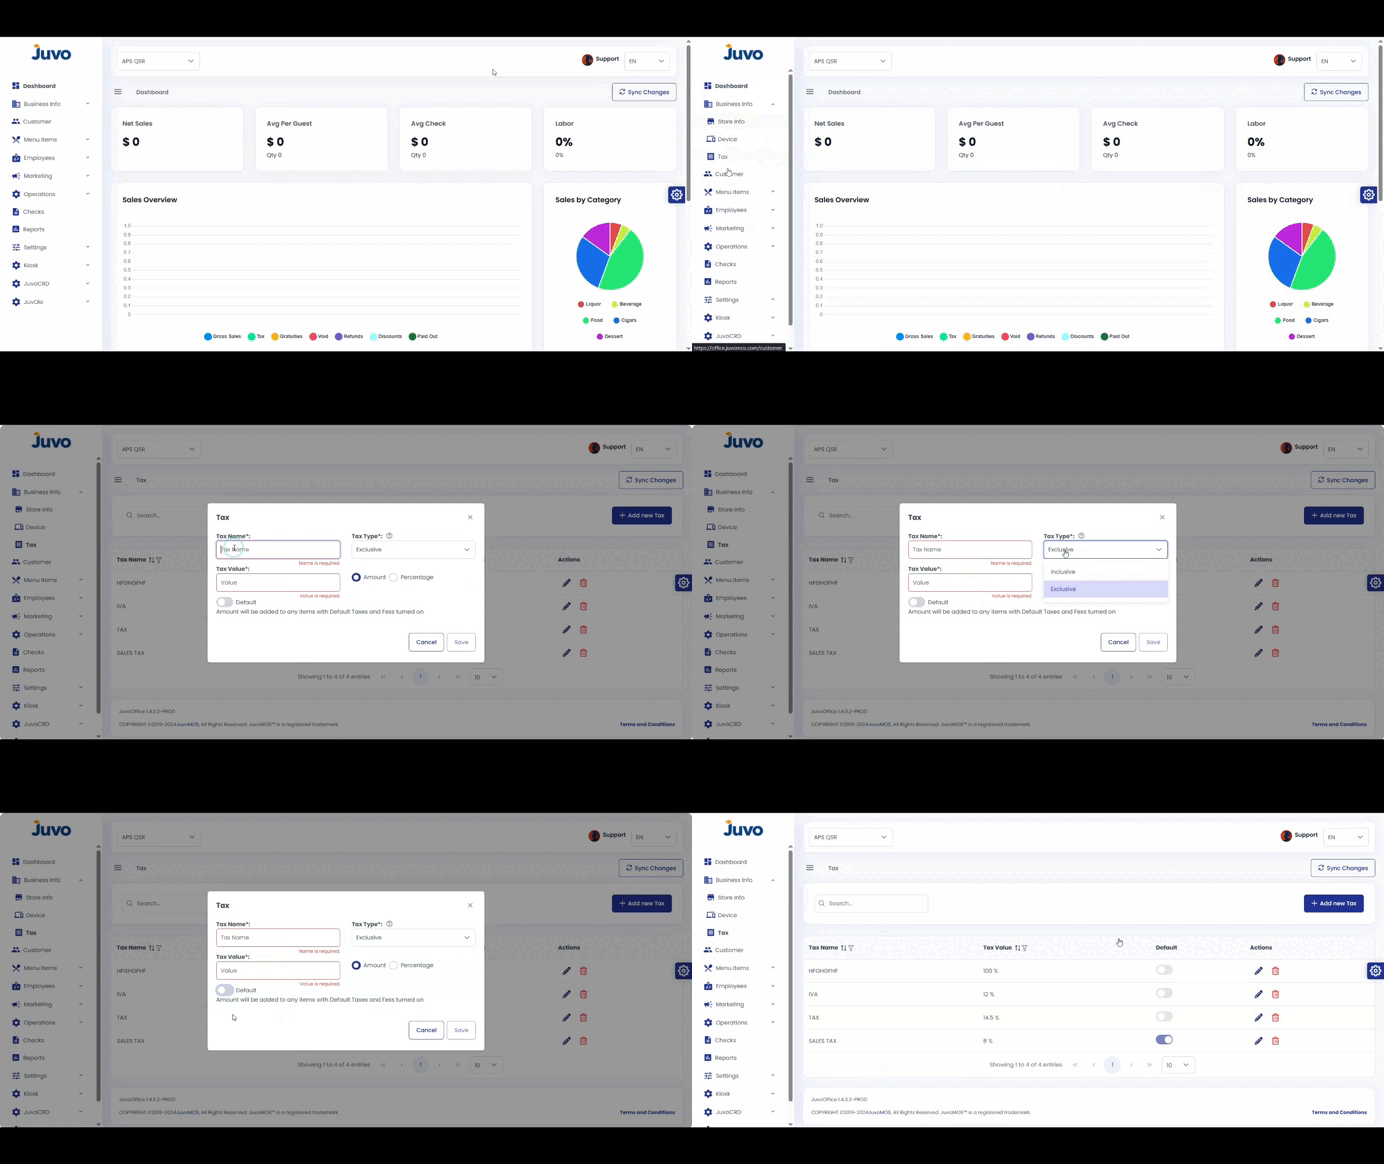
  • Business Info → Tax

    Create or update tax configurations.

    1. Go to Business Info → Tax.
    2. Click Add Tax or Edit.
    3. Enter the tax name and percentage or amount.
    4. Mark Default if it should apply to all newly created items.
    5. Click Save.
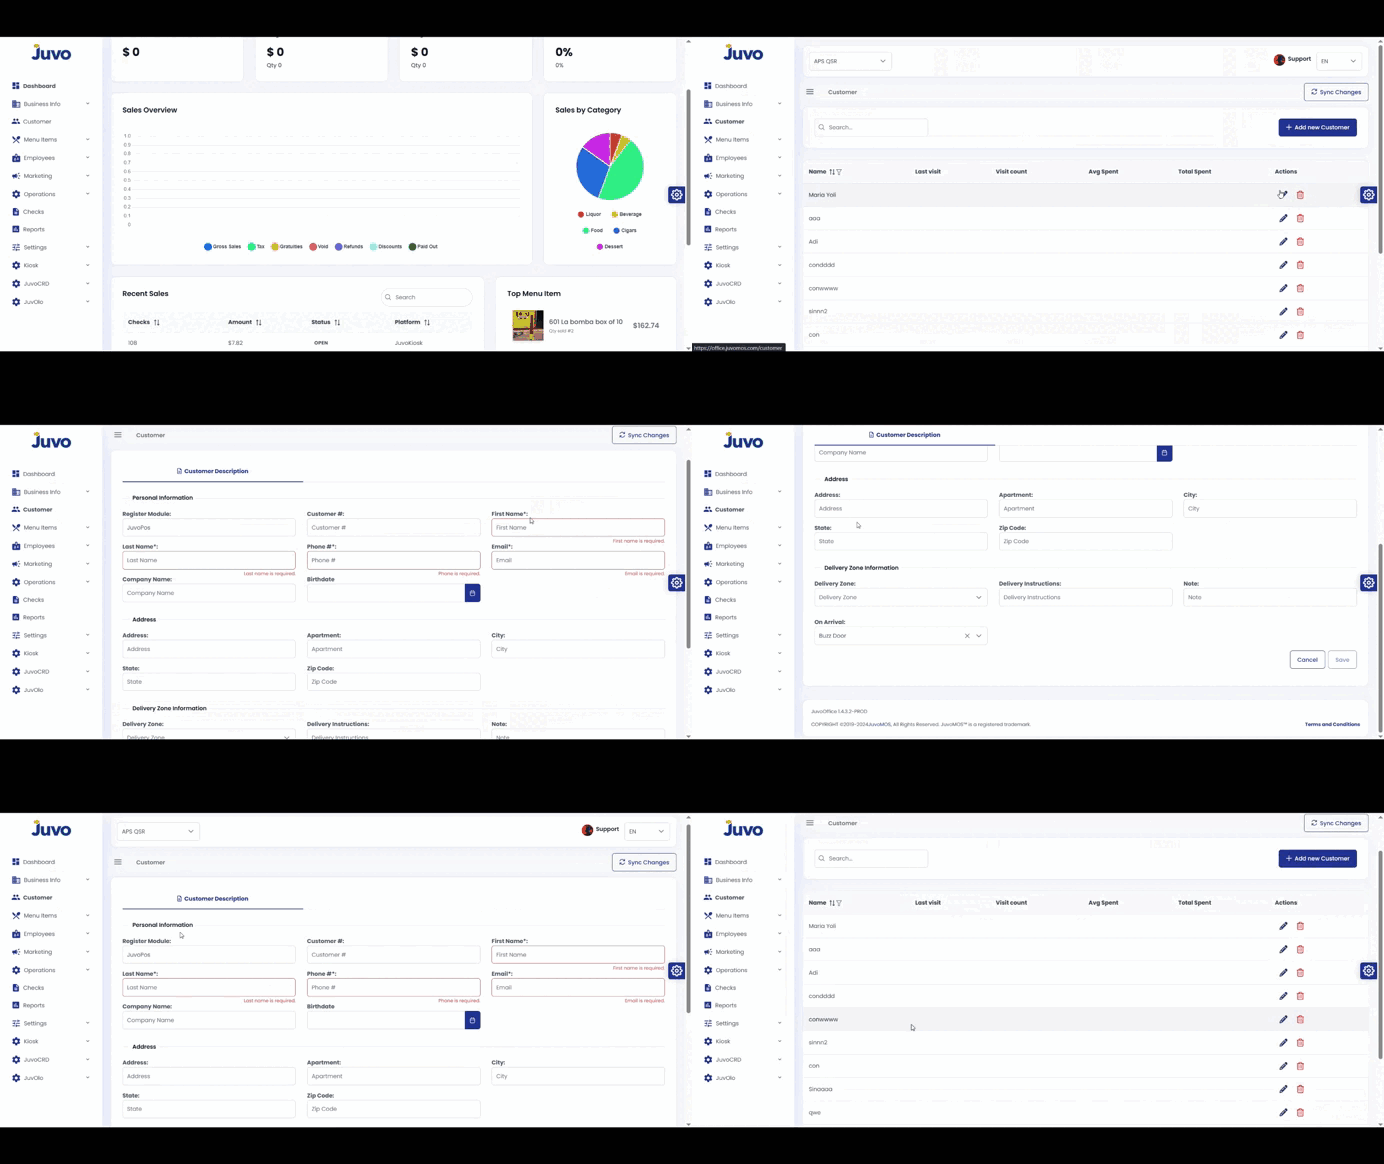
  • Customers

    Create and manage customer profiles.

    1. Open Customers.
    2. Click Add Customer.
    3. Enter the name, email, phone, address, and notes.
    4. Click Save.
    5. Use the search bar to find the customer later.
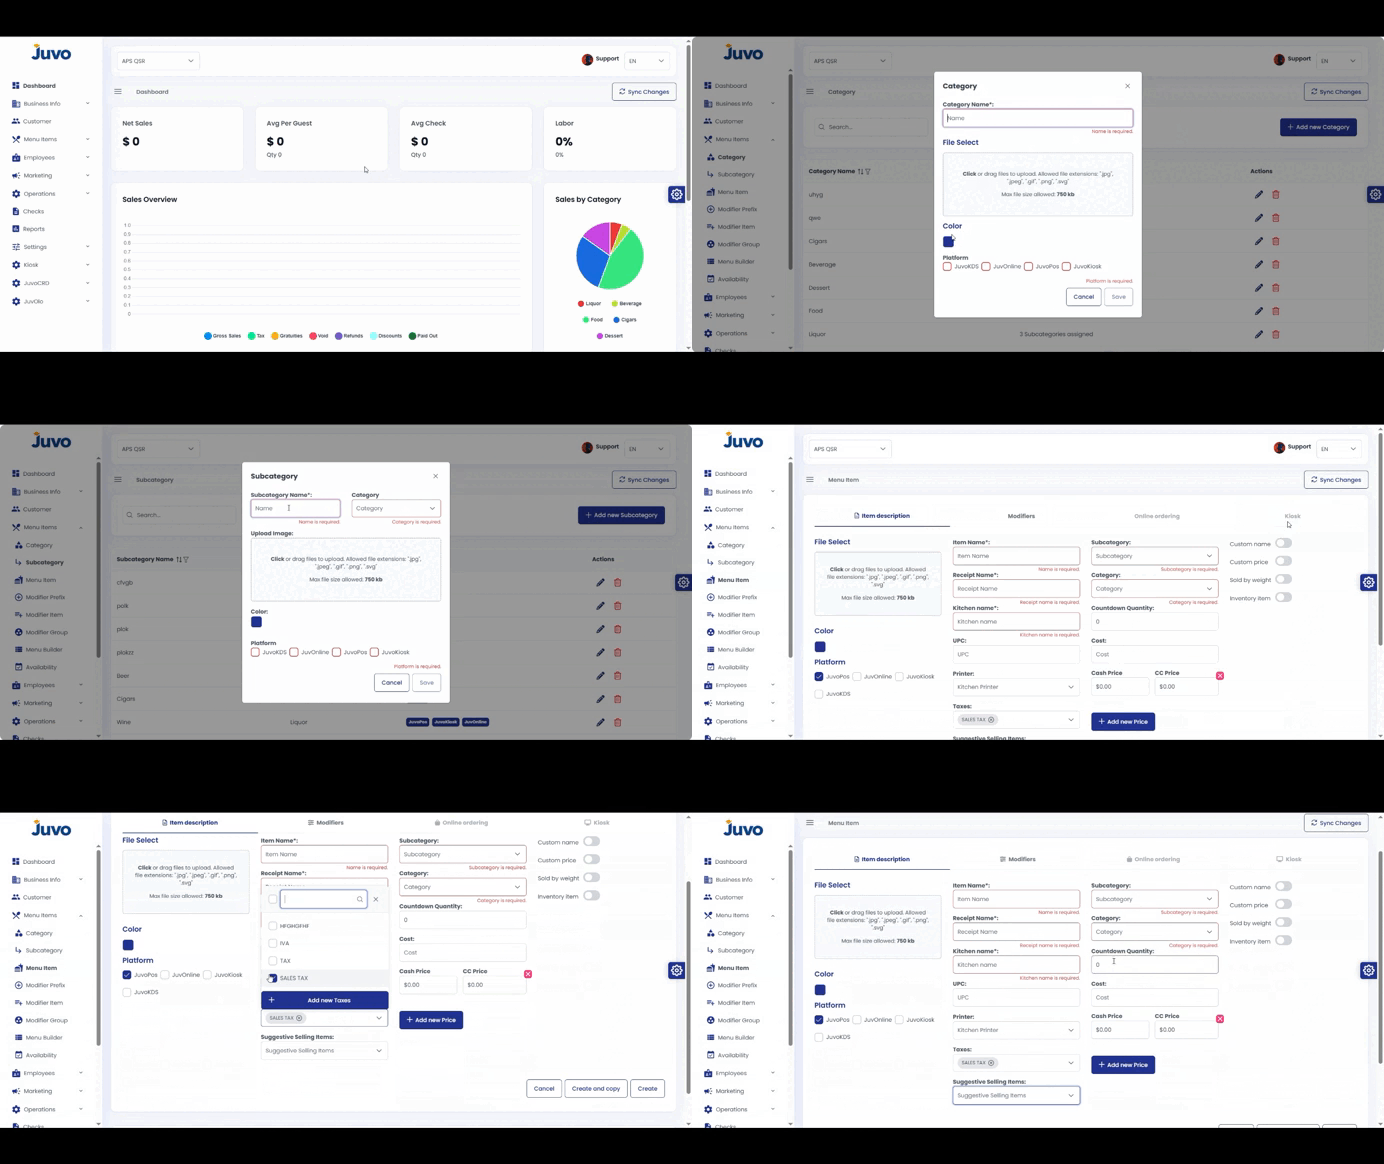
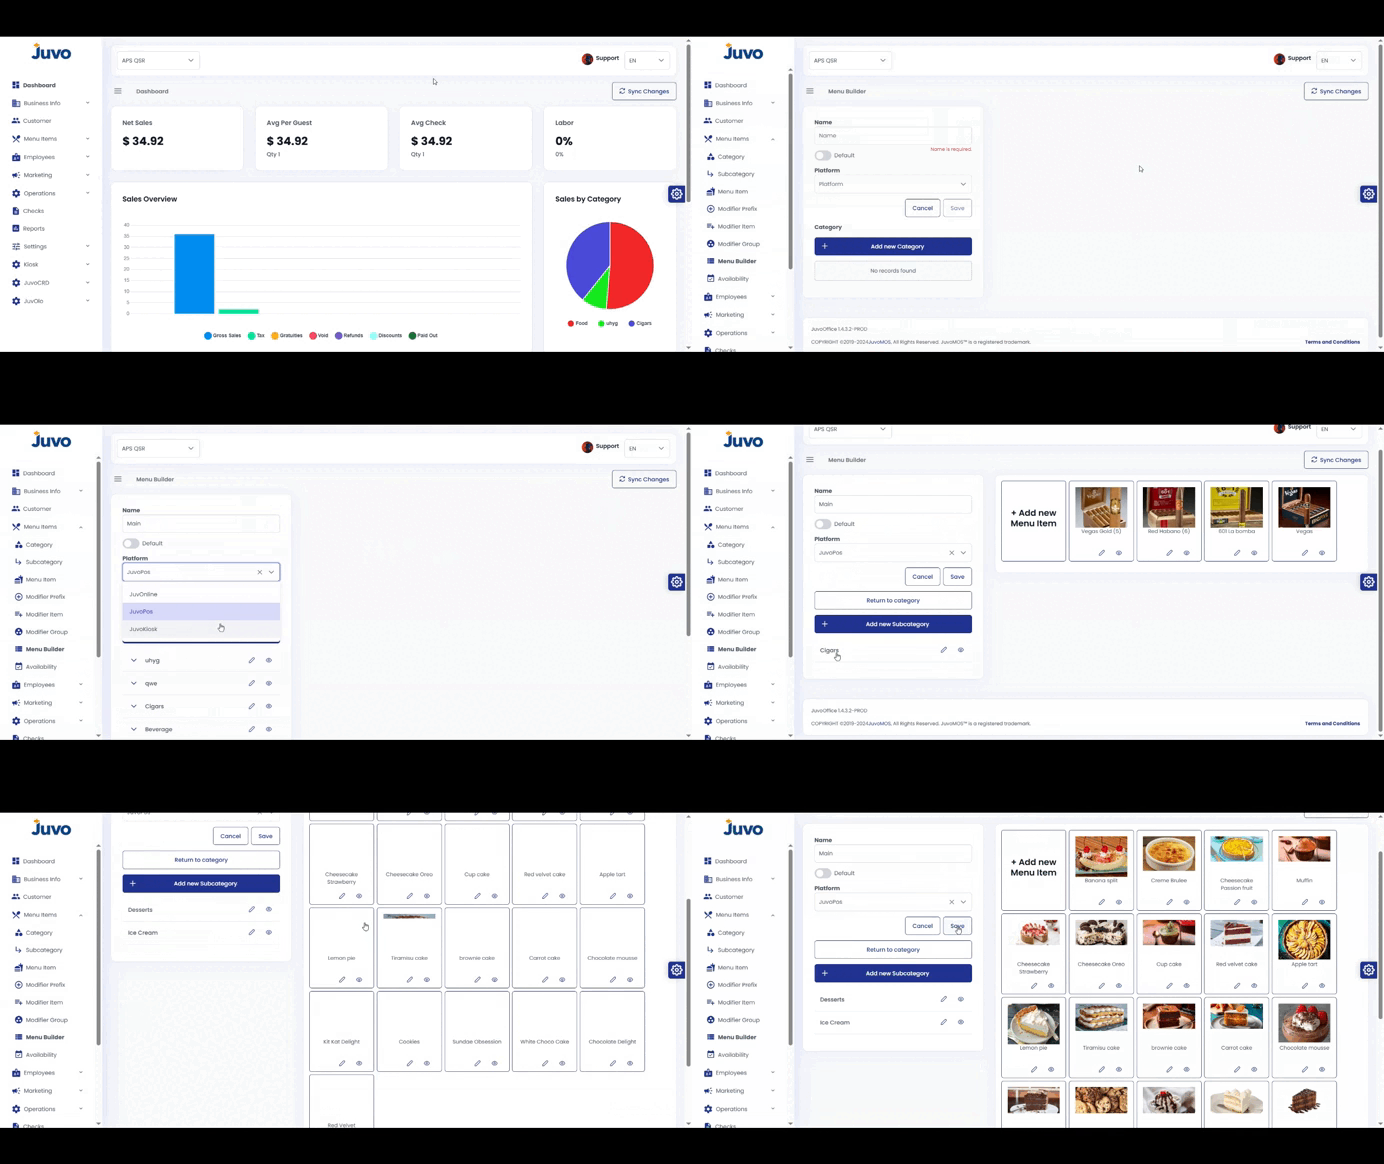
  • Menu Items → Add Category and Subcategory

    Create menu categories and subcategories.

    1. Open Menu Items and select Category or Sub Category.
    2. Click Add Category or Add Sub Category.
    3. Enter the name, such as Drinks or Food.
    4. Click Save.
    5. Repeat as needed.
  • Menu Items → Add Menu Item

    Create and configure a menu item.

    1. Go to Menu Items → Menu Item.
    2. Click Add Item.
    3. Enter the product name, price, category, tax, and optional image.
    4. Configure suggestive selling items, with up to three suggestions for CDS.
    5. Configure modifier groups when needed.
    6. Enable Kiosk or OLO and choose default or specific items when applicable.
    7. Click Save.
  • Menu Items → Modifiers

    Create modifier prefixes, items, and groups.

    1. Open Menu Items.
    2. Select Modifier Prefix, Modifier Item, or Modifier Group.
    3. Create prefixes such as No, Extra, or Add.
    4. Create modifier items such as Cheese or Bacon.
    5. Combine items into modifier groups such as Toppings.
    6. Click Save after each setup.
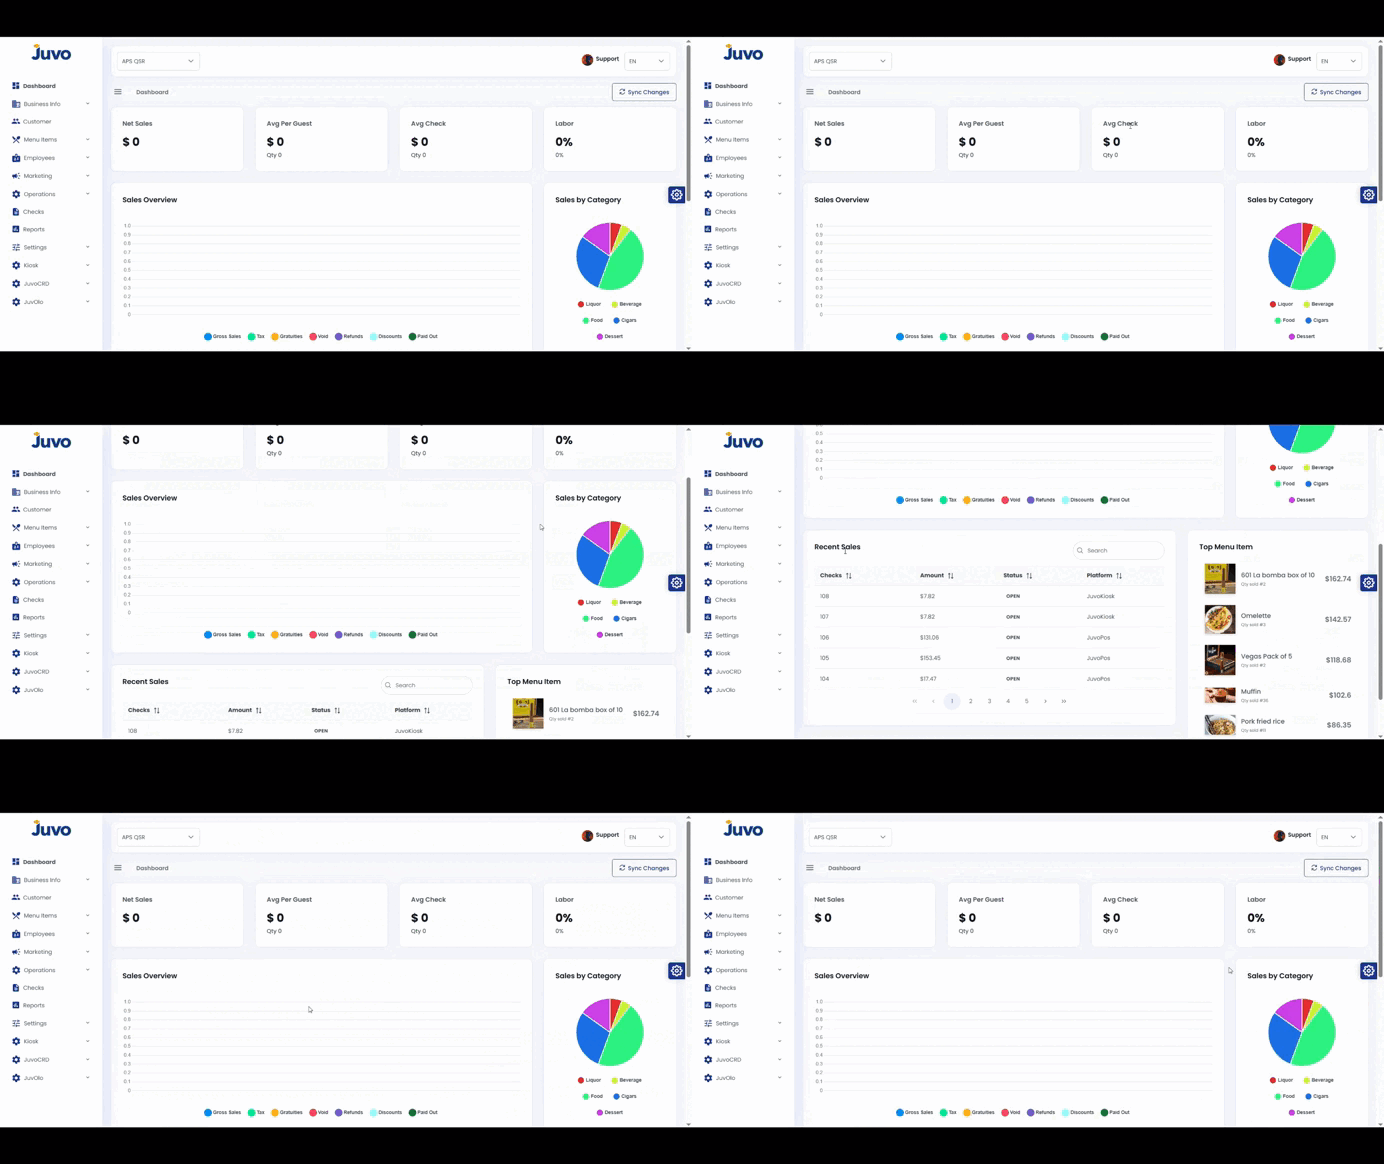
  • Dashboard → Overview

    Learn how to navigate the Juvo Back Office Dashboard and review key business indicators.

    1. Log in to Juvo Back Office.
    2. Click Dashboard in the left-hand menu.
    3. Review the key performance indicators and business information.
    4. Explore the available views and options.
    5. Use the Dashboard as a quick reference for daily store performance.

    Note: Focus on the indicators most relevant to your daily operations.